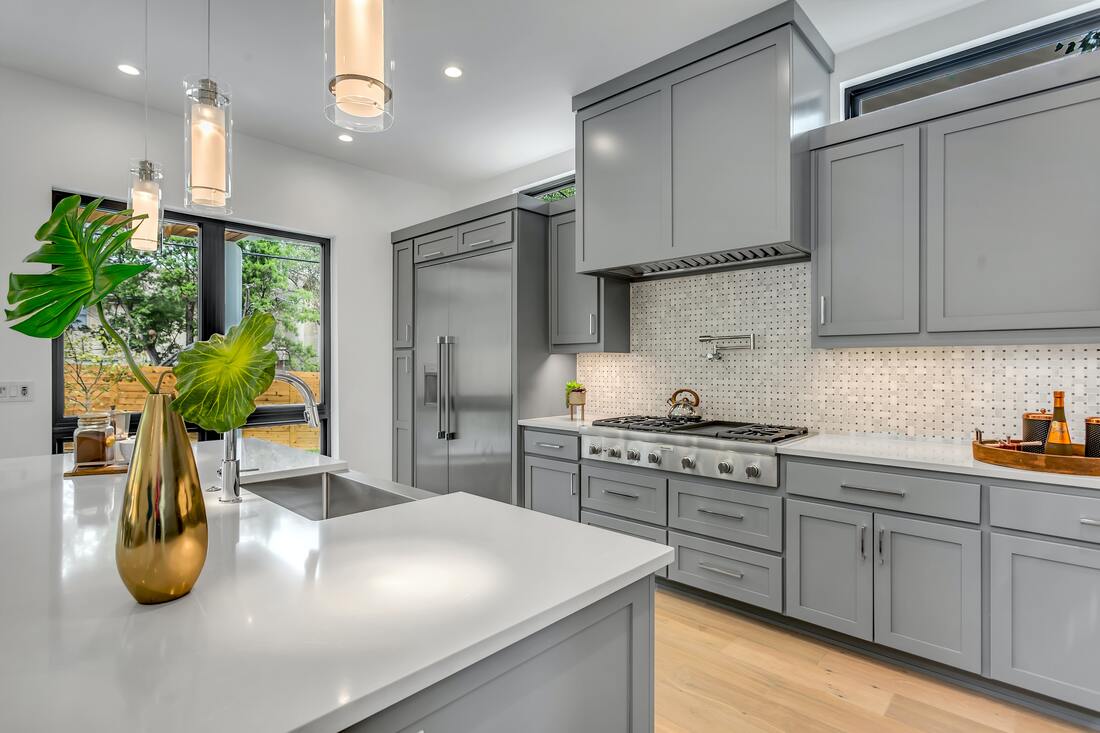
 Painting your kitchen cabinets is a great way to make a big impact without breaking the bank. It can also be a little intimidating. But it doesn’t have to be! Whether you’re a DIY pro or a DIY novice, we’ve got some tips and tricks to guide you through the process and tackle the job with confidence.
Step 1: Choosing the paint Oil-based or Water-based? Once you decide what color you want to use, you need to decide on the right kind of paint. You can use either water-based or oil-based paint on your cabinets. Oil-based paints are generally considered more durable, have a smoother finish and require less coats. However, they have a strong smell, higher VOCs, and can yellow over time. Oil-based paints are also more difficult to clean up mistakes. Water-based, or latex, paints have become more popular and offer a wide variety of options. Water based paints improving all the time and are more resistant to cracking and chipping than ever before. They do not yellow over time, dry quickly, can be cleaned up with soap and water, and are better for the environment. But if you’re still unsure what type of paint to use on your kitchen cabinets, consider the look you are hoping to achieve. If you’re going for a more modern, sleek finish, oil-based paint will give you good results (though the sheen can dull over time). If you are looking for something more matte and rustic, use a latex paint. Step 2: Prep for Painting Empty cabinets and tape Before you begin, you need to empty cabinets and drawers. Apply painters’ tape where cabinet frames meet walls, counters, and floors. Remove doors and hardware Remove all the cabinet doors and drawers. (If you are super careful, you might be able to paint the drawers without pulling them out, but it will be easier if you do.) Remove any hardware. Don’t forget to label and bag everything before you place them in a storage shed or unit so you remember how to reassemble when you’re done. Wash cabinet surfaces Thoroughly wash all surfaces with a good degreasing cleanser like TSP. Removing as much oil and grease as possible will help the paint stick to the surface of the cabinets. Strip and Sand The purpose of sanding your cabinets is to simply scuff them up just enough to get rid of any gloss and create a surface for the new paint to stick to. You don’t have to spend a ton of time on this step. A 120-150 grip sandpaper will work. If you prefer, you can use a liquid de-glosser. After sanding, be sure to clean up any debris with a vacuum or tack cloth. Paint will reveal every bump and crack, including tiny dust particles. Prime Like sanding, priming does not need to be perfect. You just need a thin coat on most of the surface area. Be careful not to let the primer to pool in corners. Helpful hints on Sanding and Priming If your cabinets are currently painted, you may be tempted to simply paint over them. But you do need to prep the surface. If they were painted with an oil-based paint, you must sand and prime the cabinets if you plan to cover them with a latex paint. If they were painted with a latex paint, you should still at least sand before painting. If you’re painting over cabinets with a heavy wood grain and are looking for a smooth finish, you can fill in holes in the grain with a light spackle. Then sand and prime. Some new latex paints -- like chalk paint and milk paint -- can be used without sanding and priming. These may sound like great options if you’re short on time, but they will also require multiple coats of paint. (And the subsequent waiting for each coat of paints to dry between coats.) If you are unsure what kind of paint is on your cabinets or what material they are made of, paint a small section of the cabinet and let it dry. If you can scratch or chip the paint off with your fingernail or sandpaper, you’ll definitely need to sand and prime. Step 3: Paint Start with frames and use the appropriate size brush for each section. (Small details, small brush. Large surface, large brush.) Choose high quality brushes with ultrasoft bristles. Not only will these give you the most professional look, they’ll also retain their softness better when properly cleaned so you can use them again and again. After you finish the frames, move to doors and drawers. Paint the backs first, let them dry, then paint the fronts. Be sure to allow enough time for the paint to dry between coats and sections. Finishing with a paint roller can be helpful if you are trying to avoid evidence of any brush strokes. Using a paint sprayer may save some time and definitely eliminates brush strokes, but you’ll need to mask off all surrounding surfaces and have a place where you can spray the doors and drawers. You’ll also need to properly clean the spray bottle when you’re done. This method can give you the most professional look but it’s also the method that requires the most skill. Step 4: Reassemble Add hardware If you are using the same hardware, be sure to wash and polish before attaching them to your freshly painted doors and drawers. Reattach Doors and Drawers Because you labeled all the doors and hardware, reassembling your kitchen should be quick and easy. Step 5: Enjoy! Your newly painted cabinets will definitely give your kitchen a whole new look and feel. You’ll have the professional-looking, upgraded kitchen of your dreams, without having spent tons of time and money!
1 Comment
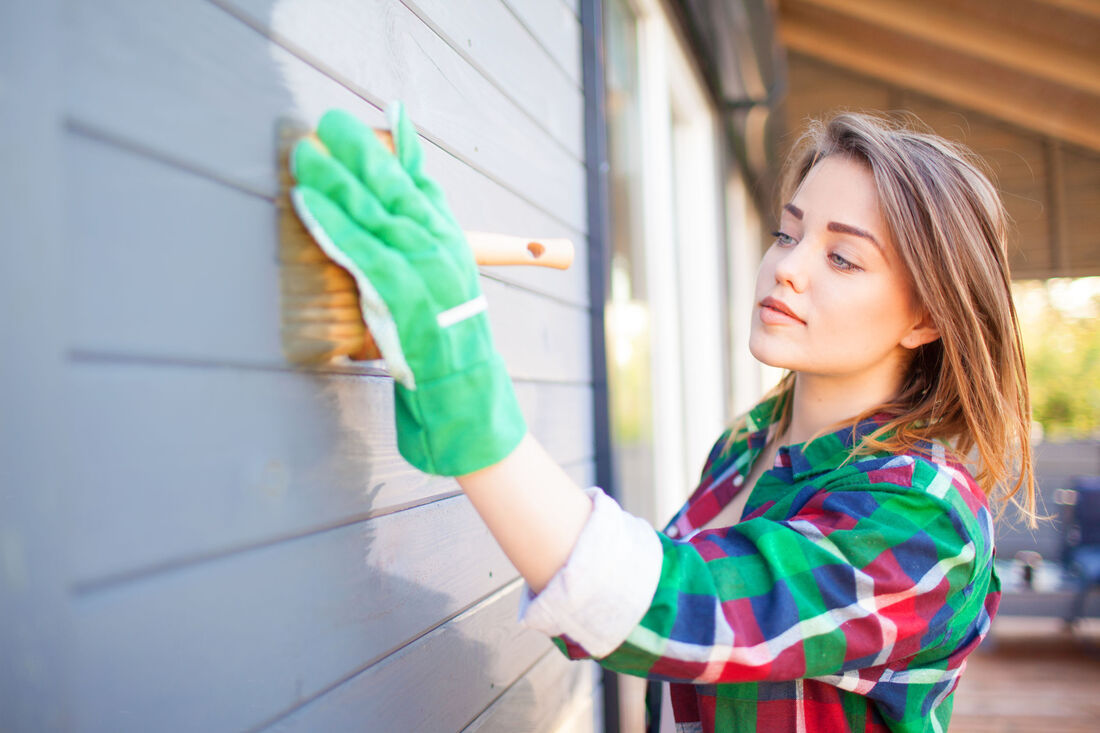 It may seem like an impossible task, but as long as you take some time to prepare, painting your house will go smoothly. Once you start painting, you will notice that the work goes by quickly.
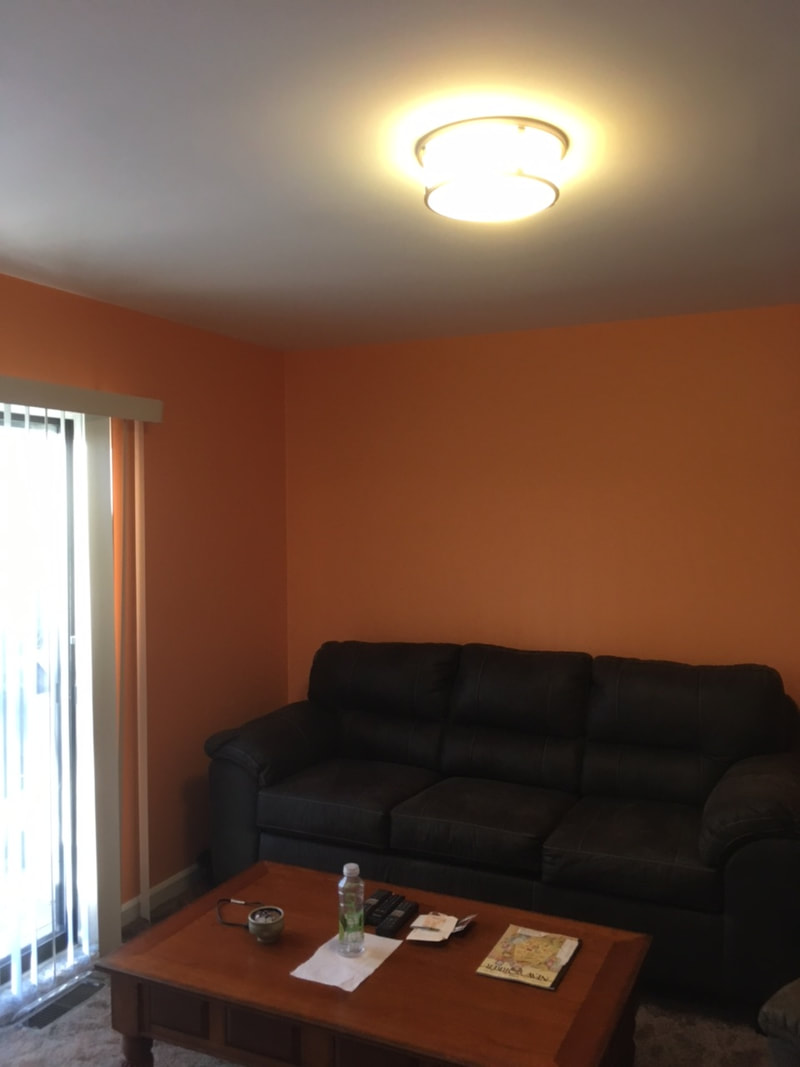
When the exterior of your house is not prepared properly, it makes the painting job a lot more difficult. Here is what you need to do to be sure you are all prepared for the first round of painting. Know What Color You Want and How Much First, always know how much of your house is going to need a fresh coat of paint- this will determine how much paint you need to purchase. Sometimes, you can get away with only painting over the trim or other areas where house paint often peels. Of course, you are also going to want to find that perfect shade of paint. While shopping, be sure that you are listening to the advice of professionals. They will often have samples for you to test and give great advice on picking colors that look amazing on your house. Don’t Skip on Quality It can be tempting to buy the cheapest paints- since you are probably going to need to be buying a lot of buckets to coat your home. However, if you do this, the paint will not last long and your hard work will go to waste. Quality paint can last up to 10 years without needing replacement. Over the long run, this will save you a bit of money and effort. Clean the Exterior Cleaning the exterior of the home is crucial. Otherwise, the paint will not stick to the grime, or even trap it against the outside of your house. You can pressure wash the outside of it to ensure that all of the dirt and debris is removed. You will want to cover any yard decorations or plants near the house with a tarp or other plastic before moving on to the next step. Protecting areas that you do not want to drip paint on is also a good idea. Be sure to cover your door and windows before you get to painting. Scrape and Sand Once the house has been washed and is dried, you will want to search for any peeling paint. If you notice that it is cracked or lifting off the house, then you will want to scrape it off. You can do this with either a wide putty knife or a wire brush. You will want to work in small areas and only remove the already chipped paint. After that, take some time to sand down the area- this is will give a smooth surface for the new paint to hold on to. Know When to Paint At this point, you are going to want to wait for the perfect house painting day. If you do not, the paint might blister, buckle, or have other visual issues. The best days to paint house exteriors are days between 75 and 85 degrees, with very little humidity. Direct sunlight will also cause issues in the paint. Know What Brush Works Best A brush made from a blend of nylon and polyester works best for all latex-based paints. They have the bonus of being easy to clean as well if you want to use it later. A brush made from only polyester is great also for latex paints. Brushes made from natural materials, such as animal hair, are used with oil-based paints. If you need to do any varnishing or use shellac, these brushes also work great for that. You will want a larger brush- no sense in using a tiny one when you want to paint an entire house. Save the small brushes for detailing, such as on the trim. Square shaped brushes are also the best at covering larger, flat areas. So, you will end up using them a lot when painting your home. Other types of brushes are better for covering the corners. For example, a chisel-shaped brush is used to produce straight lines over edges. An angled brush can be used effectively on the window trim. Now You’re Ready! Now that you are ready to get painting, we have a few final tips for you to help the process be a little easier. First, you should “box your paint”. This is where you pour all of your paint cans into one container. It gives the result a more professional appearance, as the color is applied more evenly. Finally, be sure that you are always painting from the top of the house and work your way down. It is much easier to work with the pull of gravity than against it. And that is how you prep your house for painting! We hope that the painting process goes well for you, without any mishaps. If you want to hire professionals in the Charlottesville, VA area to do all the work for you instead, we are here for you. 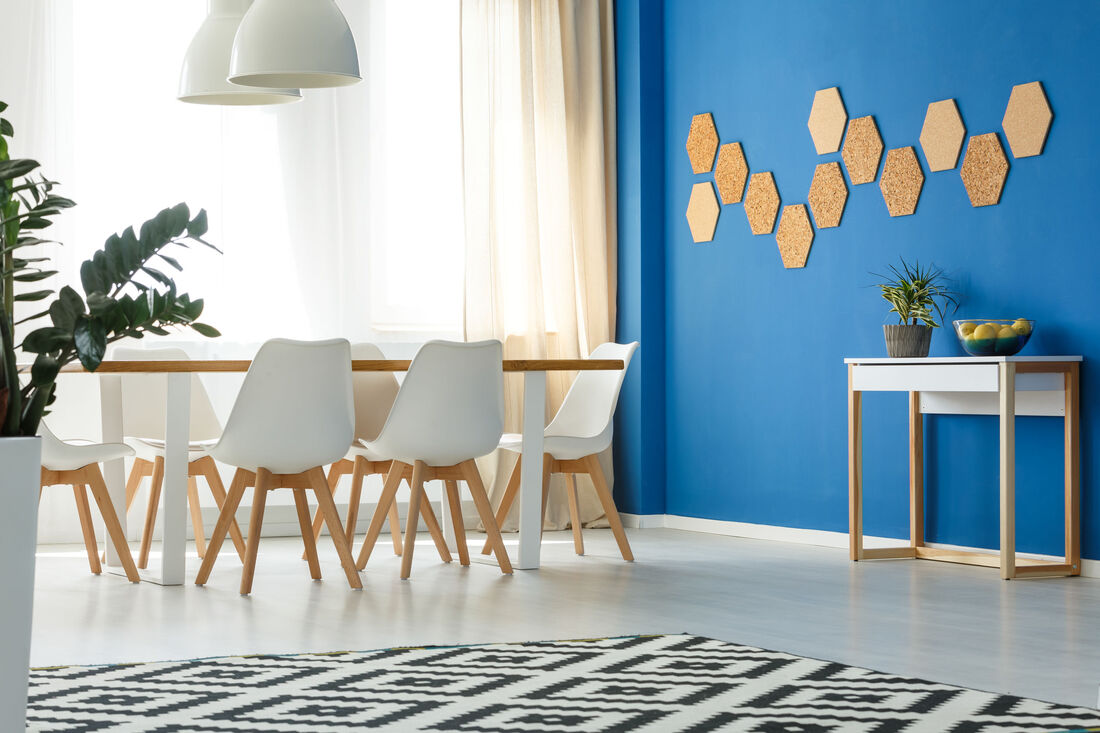 Painting your home is never a simple choice. This is especially true when it comes to its interior. While making things cozy is certainly a priority, it’s also important to keep things stylish in any home. One of the most popular and simple ways to do this is adding an accent wall to make the room pop! You might be wondering what color of paint to use as an accent, which wall would work best, or if an accent wall even makes sense in your home.
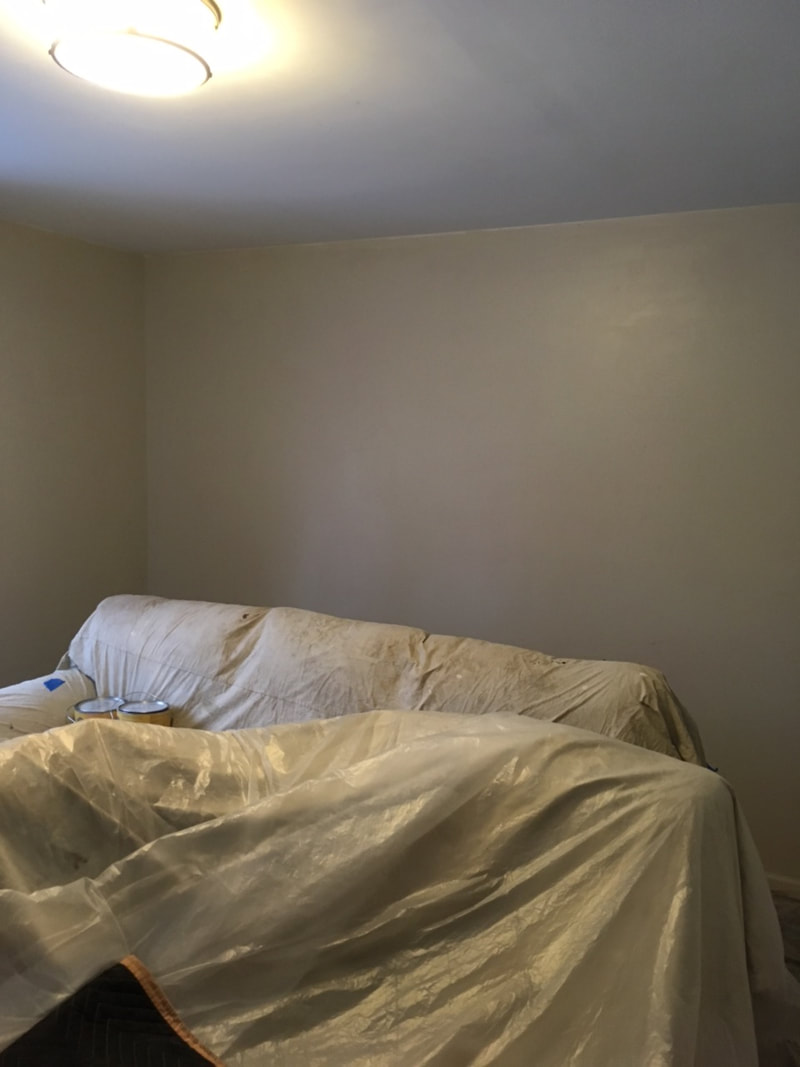
We understand that these questions may feel a touch overwhelming. That’s why we’re here to make painting your home simple. Read on to learn some of our tips for selecting and painting an accent wall for the interior of your home. To Accent or Not to Accent Before you learn about the ins and outs of painting an accent wall, you should decide if one even makes sense in your home. From our perspective, there’s a color of paint that will work great as an accent in any room of your home. That being said, accent walls sometimes clash with the design of the rest of your home. For instance, it generally isn’t recommended to add an accent wall to a large room because it can make the space feel too large—the opposite of the cozy feeling we all want in our homes. Alternatively, small rooms often benefit from accent walls which can both add some excitement and make the space seem larger. It’s also worthwhile to add an accent wall to your home if you’d like to draw attention to a specific detail in a room, such as an art piece. The right shade of paint can draw everyone’s eyes that direction. What You Should Accent Now, you’ve decided that an accent wall may be the right choice for the inside of your home. Before you rush out to buy paint, it’s time to decide what you actually want to accent! This is the step where you can really allow your personal sense of style to shine through. You may want to draw guests’ eyes to an interesting architectural feature, painting, or even sculpture. Or maybe you want an accent wall that matches your furniture, giving the room a cohesive feel. No matter what, be sure to choose a specific aspect of the room to accent—otherwise, painting an accent wall won’t make any sense. Keep Architecture in Mind When choosing which wall to paint, we cannot emphasize the importance of analyzing the architecture of your home enough! While our dreams for a home are limitless, we do have to work within the confines of the space. With this in mind, check if the room has any walls that are either recessed or far from the room’s entrance. These walls are often the best accents as a bold color of paint will emphasize their unique features and give the room depth. Paint with Caution When painting the interior of your home, it can be easy to get carried away. On paper, complicated and busy designs sound great. In reality, they can make a room feel confused. When it comes to painting an accent wall, we recommend less paint rather than more. Namely, your accent wall will be most effective if it is small! Ensuring that your accent is a smaller portion of the room allows it to really pop and prevents the paint color from overwhelming the space. Choosing the Right Paint Color Here’s the fun part! You’ve decided that your home needs an accent and have picked the perfect wall. Now, you need to decide on a paint color. We encourage you to be open minded during this process. Never be afraid to pick a dozen paint swatches to test things out. And when picking out colors to sample, be sure to get a wide range. Colors that might seem to bold in the store could look beautiful in your living room. Alternatively, the colors you love at the store could feel a bit too plain to serve as an accent wall when you get home. And never forget to compare your paint swatches to more than just the wall you plan to have painted. Because this is an accent wall, you want to be sure the color doesn’t clash with any other features in the room. Call Us to Get the Paint Job Done At the end of the day, painting your home is a very personal process. After all, everyone who visits will notice your accent wall immediately. That’s the point! Guests can tell when you have put a lot of thought into the design of your home’s interior and quality paint is a great way to send a message. Once you’ve settled on colors and walls, reach out to our team. We’ll proudly help you take your interior design to the next level, one coat of paint at a time. Call or email us today for a free estimate. Before starting any wall painting project, it's important to prepare the walls before they are painted. This first, and most important step, is usually the one done poorly or skipped altogether by painters with little experience. But I've learned that a properly prepared wall makes all the difference between a new coat of paint looking ok and looking fantastic. In newer houses the walls may not need much prep work. If the house and/or paint is old and peeling off, then it will need to be completely removed before new paint is added. You can remove the old paint with a sander or a paint stripper and scraper. Paint strippers include harsh chemicals and can be dangerous to use. Paint scrapers involve more work, but usually the end result is much better. Give me a call today and we can discuss your painting needs in Charlottesville. Thank You! We here at Expertise Painting wanted to take a moment to THANK our loyal clients for an awesome 2019 and we look forward to an even better 2020. Our business grew and we were able to serve both residential and commercial clients throughout Charlottesville and Central Virginia. If you have some painting that you keep putting off, leave it to the pros. Contact us anytime for a FREE ESTIMATE!
|
Dan KirbyA Professional Painter servicing Charlottesville and Central Virginia for over 30 years. 
Archives
March 2023
Categories |
 RSS Feed