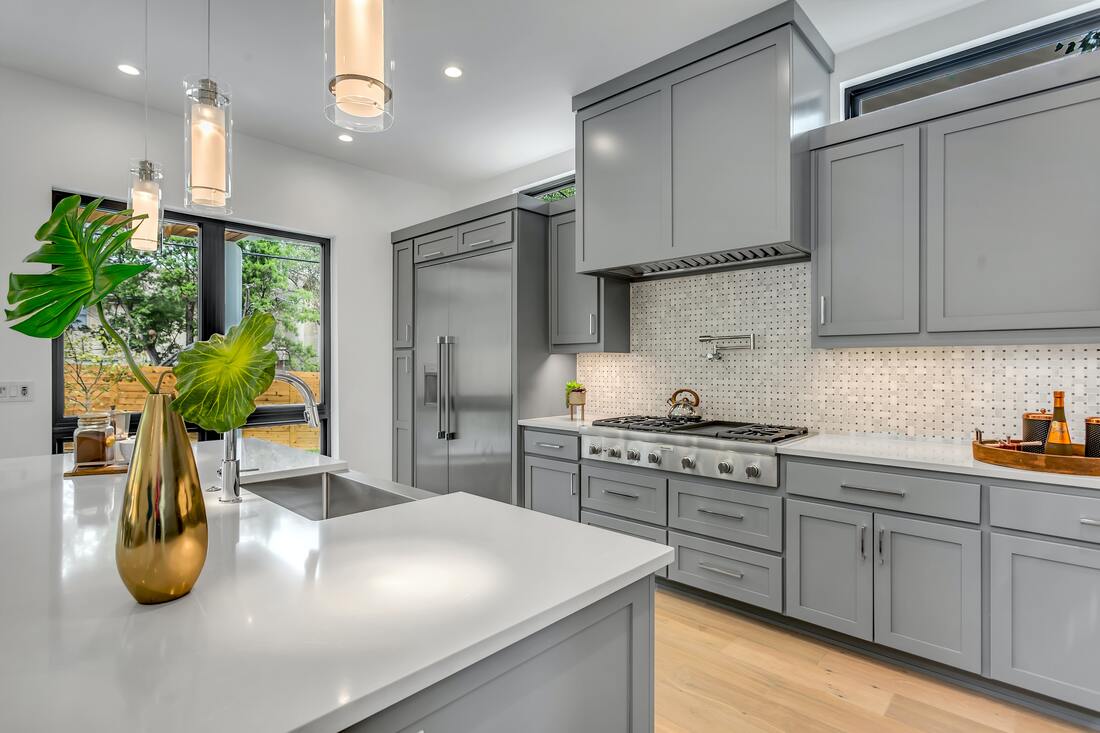
 Painting your kitchen cabinets is a great way to make a big impact without breaking the bank. It can also be a little intimidating. But it doesn’t have to be! Whether you’re a DIY pro or a DIY novice, we’ve got some tips and tricks to guide you through the process and tackle the job with confidence. Step 1: Choosing the paint Oil-based or Water-based? Once you decide what color you want to use, you need to decide on the right kind of paint. You can use either water-based or oil-based paint on your cabinets. Oil-based paints are generally considered more durable, have a smoother finish and require less coats. However, they have a strong smell, higher VOCs, and can yellow over time. Oil-based paints are also more difficult to clean up mistakes. Water-based, or latex, paints have become more popular and offer a wide variety of options. Water based paints improving all the time and are more resistant to cracking and chipping than ever before. They do not yellow over time, dry quickly, can be cleaned up with soap and water, and are better for the environment. But if you’re still unsure what type of paint to use on your kitchen cabinets, consider the look you are hoping to achieve. If you’re going for a more modern, sleek finish, oil-based paint will give you good results (though the sheen can dull over time). If you are looking for something more matte and rustic, use a latex paint. Step 2: Prep for Painting Empty cabinets and tape Before you begin, you need to empty cabinets and drawers. Apply painters’ tape where cabinet frames meet walls, counters, and floors. Remove doors and hardware Remove all the cabinet doors and drawers. (If you are super careful, you might be able to paint the drawers without pulling them out, but it will be easier if you do.) Remove any hardware. Don’t forget to label and bag everything before you place them in a storage shed or unit so you remember how to reassemble when you’re done. Wash cabinet surfaces Thoroughly wash all surfaces with a good degreasing cleanser like TSP. Removing as much oil and grease as possible will help the paint stick to the surface of the cabinets. Strip and Sand The purpose of sanding your cabinets is to simply scuff them up just enough to get rid of any gloss and create a surface for the new paint to stick to. You don’t have to spend a ton of time on this step. A 120-150 grip sandpaper will work. If you prefer, you can use a liquid de-glosser. After sanding, be sure to clean up any debris with a vacuum or tack cloth. Paint will reveal every bump and crack, including tiny dust particles. Prime Like sanding, priming does not need to be perfect. You just need a thin coat on most of the surface area. Be careful not to let the primer to pool in corners. Helpful hints on Sanding and Priming If your cabinets are currently painted, you may be tempted to simply paint over them. But you do need to prep the surface. If they were painted with an oil-based paint, you must sand and prime the cabinets if you plan to cover them with a latex paint. If they were painted with a latex paint, you should still at least sand before painting. If you’re painting over cabinets with a heavy wood grain and are looking for a smooth finish, you can fill in holes in the grain with a light spackle. Then sand and prime. Some new latex paints -- like chalk paint and milk paint -- can be used without sanding and priming. These may sound like great options if you’re short on time, but they will also require multiple coats of paint. (And the subsequent waiting for each coat of paints to dry between coats.) If you are unsure what kind of paint is on your cabinets or what material they are made of, paint a small section of the cabinet and let it dry. If you can scratch or chip the paint off with your fingernail or sandpaper, you’ll definitely need to sand and prime. Step 3: Paint Start with frames and use the appropriate size brush for each section. (Small details, small brush. Large surface, large brush.) Choose high quality brushes with ultrasoft bristles. Not only will these give you the most professional look, they’ll also retain their softness better when properly cleaned so you can use them again and again. After you finish the frames, move to doors and drawers. Paint the backs first, let them dry, then paint the fronts. Be sure to allow enough time for the paint to dry between coats and sections. Finishing with a paint roller can be helpful if you are trying to avoid evidence of any brush strokes. Using a paint sprayer may save some time and definitely eliminates brush strokes, but you’ll need to mask off all surrounding surfaces and have a place where you can spray the doors and drawers. You’ll also need to properly clean the spray bottle when you’re done. This method can give you the most professional look but it’s also the method that requires the most skill. Step 4: Reassemble Add hardware If you are using the same hardware, be sure to wash and polish before attaching them to your freshly painted doors and drawers. Reattach Doors and Drawers Because you labeled all the doors and hardware, reassembling your kitchen should be quick and easy. Step 5: Enjoy! Your newly painted cabinets will definitely give your kitchen a whole new look and feel. You’ll have the professional-looking, upgraded kitchen of your dreams, without having spent tons of time and money!
1 Comment
9/21/2021 06:59:09 pm
I like your cabinet tips. My cabinets are all broken. I'll have to hire a contractor to fix them.
Reply
Leave a Reply. |
Dan KirbyA Professional Painter servicing Charlottesville and Central Virginia for over 30 years. Archives
March 2023
Categories |


 RSS Feed