 It’s time to give your home a facelift. Whether you’re brightening up the whole house with a fresh coat of paint or focusing on one or two rooms, it’s important to understand the costs associated with repainting your home.
For an average interior paint job in Charlottesville, you can expect to pay a professional painter $1.30 to $3.20 per square foot, plus materials. Some painters might charge for small projects by the hour, averaging $30 to $60 in the Charlottesville area. The type of home and its interior paint needs vary greatly, so read on to consider some of the factors that can impact the cost of your paint project. Factors That Impact Your Interior Paint Costs Do you plan to have all of your interior spaces painted or just a few rooms? Knowing the size of the space you want painted is important. The size of a room is the biggest factor in calculating your overall cost. Interior painting can range from $400 to more than $3,000 in Charlottesville, depending on room size and number of rooms involved. Another factor to consider when hiring a painter is the quality of the paint you choose. Interior latex paint can vary in price from $15 to $60 a gallon, with $20 to $30 as the average cost for home-grade paint. Professional grade paint will cost closer to $60 a gallon, and some luxury finishes or pigments can go for more than $100 a gallon. A gallon of paint typically covers 300 square feet in one coat. Different surfaces also affect the cost of an interior paint job. If you are simply painting walls, the cost will remain lower, at $1 to $2 per square foot. Depending on the texture, ceilings may cost $1 to $2.50 per square foot. Add in trim to the project, the price can increase to $3 per square foot. Doors, cabinets, and unusual surfaces or corners also might increase the price. The surface you are painting could require a primer or second coat of paint. If so, be sure to factor additional time and paint supplies into your overall cost. Finally, know what the painter will charge for labor. On top of the cost of materials, they might charge by square foot or by the hour. Average cost of interior painting in Charlottesville, VA Home and rooms come in all different shapes and sizes. The best way to estimate your project cost is to know the size of the rooms you need painted and how much the painter will charge by square foot. In Charlottesville, the average cost to paint a home interior is $1.30 to $3.20 per square foot, plus materials. This is on par with the national average, which is about $3.50 per square foot, including materials. Below are some average room sizes and related costs:
Keep in mind that special surfaces, high ceilings, and unusual spaces might impact the cost. If the painter must move furniture, that also can affect the overall cost of your project. Choosing the Right Contractor for Interior Painting Once you have decided which rooms to include in your painting project and determined your budget, it’s time to choose a painter. Start with a quick online search for painters in Charlottesville, then talk to friends, family, and neighbors for their recommendations. It’s best to speak with two or three painters at your home to see how they assess your needs. Get estimates from each contractor, and review the breakdown of prep work, labor, and materials. Review the contractor’s credentials. It is important to ensure that the contractor has experience and a valid license. Check references and customer reviews for feedback, or contact the Better Business Bureau to determine if any past clients have reported poor work. Ask for a copy of the painter’s liability and workers compensation insurance certificates. This ensures that you will not be held liable if an accident occurs on the job. Finally, ask for a full contract that covers everything included and not included in the work. This should provide all costs for the project and terms of payment. Proceeding With Your Painting Project Hiring a professional painter will save you time and quickly improve the aesthetics of your home. Before you commit to a contractor, be sure you understand the cost of the project and are confident in the work the contractor will provide. Carefully consider all of the factors that can impact the overall cost of your painting project. When you discover the right painter for your home, agree to a contract that includes the project’s timeline and detailed costs. Before you know it, your home will have a fresh new look.
6 Comments
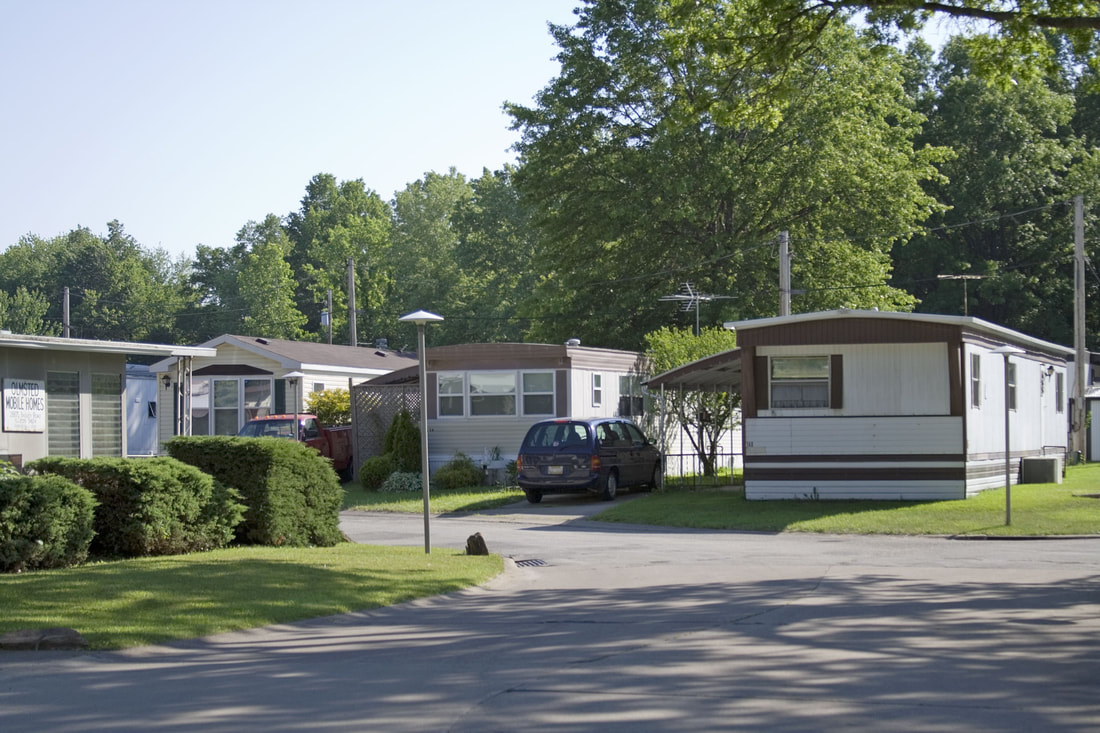 Painting any type of home - including a mobile home - can seem like a daunting task, but it can actually be fun and not too difficult if you know how to do it right! Painting your home can increase its value and improve its curb appeal while also preserving the exterior of it, meaning there are plenty of good reasons to complete the job.
If you’re looking to paint a mobile home like a pro, here are some things you should know. First, you should always clean your mobile home before painting it, as you want to get rid of any existing dirt and debris instead of painting over it because this could cause bumps, slight but noticeable discolorations, and paint chipping. While many choose to have their mobile homes power washed or professionally cleaned, this can get expensive. If you’re looking to preserve those funds, even just a rinse with soap and water can do the trick to prepare your home to be painted. Of course, you should also inspect your mobile home for rust or any other wear and tear that needs to be fixed first. Now for the fun part: You’ll need to pick the right paint color. Seeing as you literally have to look at your home every day, it is important to choose a color you enjoy that will fit your mobile home perfectly. Local home improvement stores typically have trained experts who can help you choose the best paint for your home and the materials it is built with. And of course you'll be sure to get enough paint to finish the job. Paint experts at the store will help you to determine how much paint you'll need to paint your mobile home. Regardless what painting method you choose (more on that later), if you’re a newbie to home painting, you may wish to tape off doors and windows with masking tape. A paint job can require more touch than it initially looks like, so protecting your doors and windows from any splashes or drips of paint can save you from having a mess in the future. In general, there are three painting options to choose from when painting your mobile home like an expert. These include using a paintbrush/roller, an aerosol can, and an electric sprayer. Painting your mobile home with a paintbrush and rollers can be cost effective and should take a week or less, especially if you have other people helping you. Mobile homes normally require around five gallons of paint, and even though using this method takes longer, you can be sure your paint layers are even and uniform. Of course, rollers will be faster but brushes are best for fine details and any missed spots or touch-ups. Aerosol cans are another decent way to paint your mobile home, especially if your mobile home features metal siding. Rust-Oleum Enamel Spray is an extremely popular choice for this, but regardless what brand you use, you’ll likely need up to 40 cans of it to cover your whole house. Be sure to ask your local hardware store if they have what you need in stock beforehand; if not, they can order it for you. Using aerosol cans can be less accurate than painting with a brush or roller, but it saves a lot of time and can be completed in a few days. A third option painting pros would recommend is renting or buying an electric sprayer. This can exponentially cut down on the time it takes to paint your mobile home and, in many cases, can be done in just one day. As long as you have properly prepped the rest of the mobile home (e.g., taped off doors and windows), evenly applied sprays along the siding can have your home looking great. (Pro tip: Make sure you do this on a day with little to no wind!) Overall, painting your mobile home doesn’t have to be another miserable house chore. With the right tools and plans, you can get your home looking great and beautiful again in a matter of days or less. 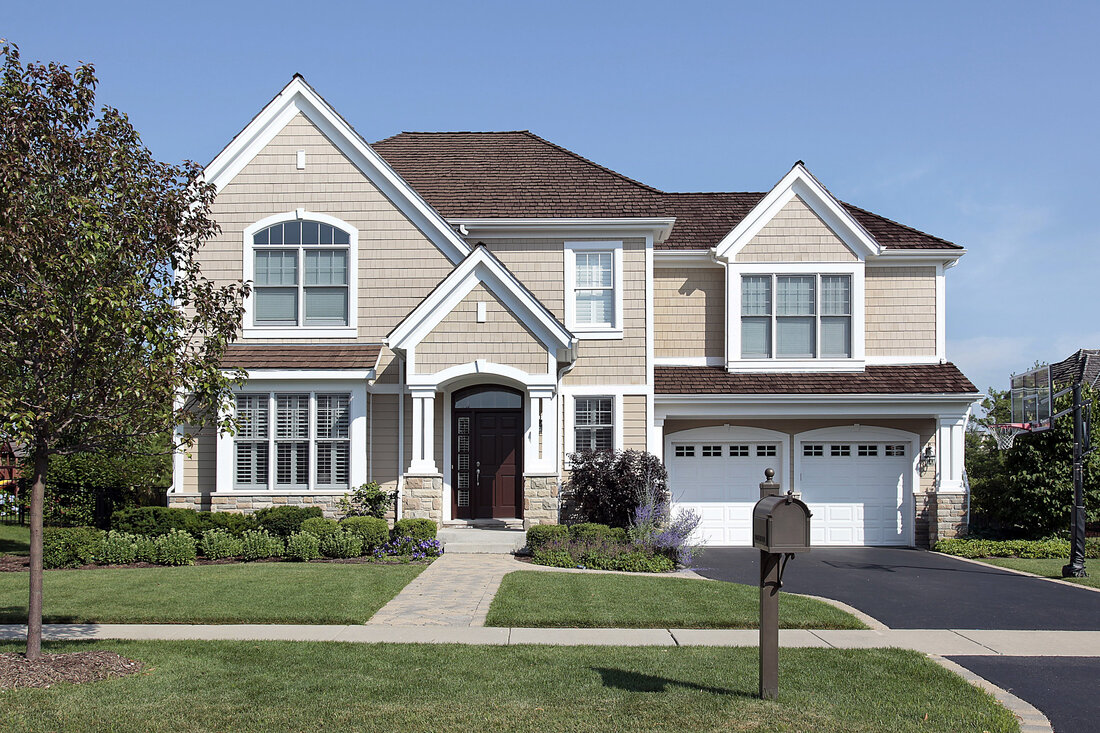 While the visual appeal inside your home is critical seeing as you spend a lot of time there, the color of the outside of your house is also one of the most important decisions you'll make as a homeowner. You want your house to stick out because it looks stunning, and that means you likely want to pair it with the surrounding foliage. Let’s take a look at some exterior house colors to match your landscaping.
Neutrals Most neutral-colored homes look great with the surrounding landscaping because they aren’t super flashy and look attractive regardless what types of trees, bushes, and flowers homeowners plant. Subtle beiges, browns, or greens are usually not a bad idea and they won’t make your house as bright as some other colors. Neutral tones may work best for medium-hued landscaping. Evergreen shrubs and plants with a slight hint of yellow also typically work well. A great way to increase your home’s curb appeal if you paint your home a neutral color is to strategically place medium- to bright-colored flowers under the windows. If you want to get a bit more adventurous with a neutral color, you may want to see how painting the shutters a darker color that makes them stand out in a good way. Some people find black works well for this, but others may go with more of a dark brown or grayish tone. Pastels Pastel paints may also be the best option for your house, and which color you choose will likely depend on the tone of your landscaping. If your landscaping features more “cool” colors, then a pastel paint with subtle tones of blue or purple might be the best option. Choosing a white paint that has cooler undertones is oftentimes the best option next to lighter landscaping. On the other hand, darker and “warmer” landscaping may pair the best with a subtle yellow or pink paint job. Brights Depending on your neighborhood and your personality, you may want your house to really stick out. Great “bright” colors include yellow and blue, and they will work the best if paired with lighter green trees and shrubs as well as very bright, “popping” flowers. Matching pinks and blues, or yellows with red, can really help your home shine behind sprawling landscaping. Muted Colors Paints that have more of a muted undertone are easier to play with when it comes with the landscaping, as they are better at acting as a backdrop instead of something that stands out. However, if you’re looking to make your landscaping really “pop,” you can paint some parts of the house (e.g., pillars and/or the front door) a brighter color such as white or a cool pastel. This will allow your home to mix with whatever you choose for your landscaping - whether that’s lighter or darker foliage. Monochromatic Theme We’ve touched a bit on mixing and matching, but purposefully going for a monochromatic theme may work best for your house and your landscaping. By using a monochromatic color theme, your exterior paint will feature multiple hues of the same color. This means, in a sense, that you can have different colors without them looking too different and really having them stick out. Gray is a great color for a monochromatic theme, as it is subtle yet you can make the differences noticeable. For example, many people choose to paint the majority of the house a lighter gray and make the trim a darker gray, or vice versa. Shades of blue can also be played around with, or if you are the more daring, bold type, red hues may be right for you. Conclusion Your landscaping is a significant percentage of the value of your home. Do not ignore the cost of your landscaping, or the style, when choosing a new paint color for your house. Any of these paint color schemes may work for your home depending on what type of landscaping you have and how much you want your home to stick out among it. It is always a great idea to get at least one color palette from your local paint shop to help you determine which one is right for your property. 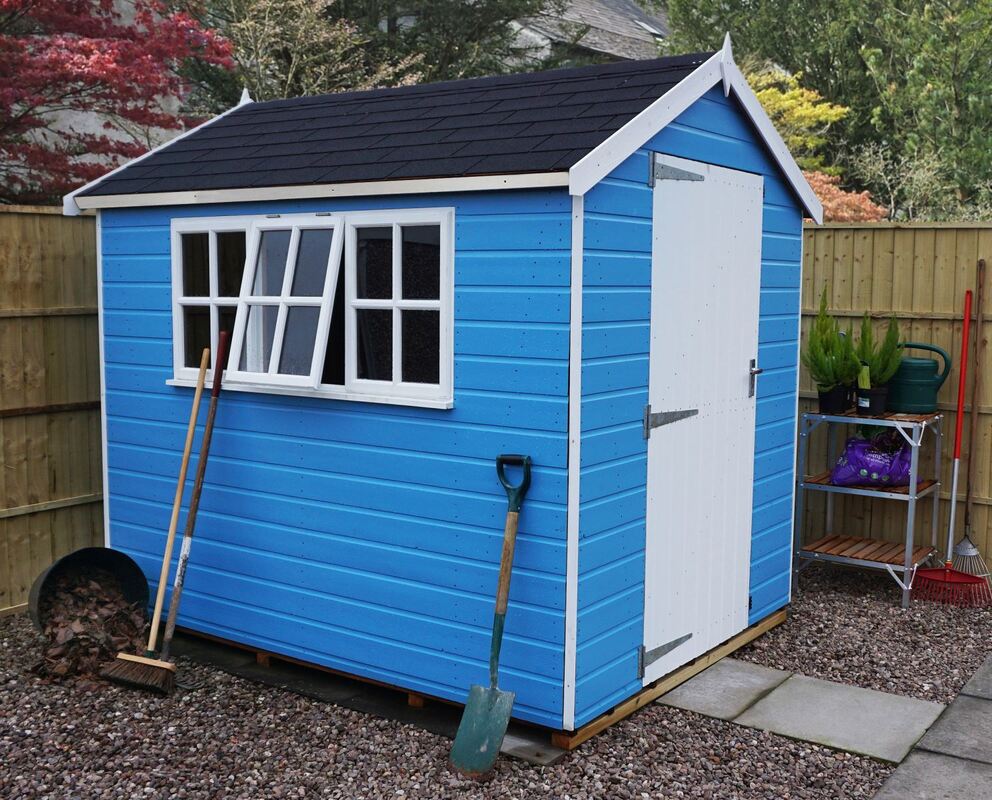 Does the sight of your rundown storage shed make you cringe every time you walk past it? Have you been thinking of sprucing it up and giving it some life with some colorful paint?
If you’ve been holding yourself back from renovating your storage shed because you don’t quite know where to start, we’re here to help you out. Read on for a straightforward guide on how to paint your storage shed like a pro. With these five simple steps, you can make your humble garden shed summer-ready in no time! Things You’ll Need
How to Paint Your Storage Shed Step 1: Cleaning and Preparation Cleaning and prep work is the crucial first step of any painting project, and they will determine how well your final project turns out. Grab a hard-wire brush and use a diluted general-purpose cleaner to give your shed a good scrubbing. Clear it of all debris, whether it’s cobwebs settled in the corners, mud lodged by the door, or algae patches outside. Before you paint the shed, make sure that the wood is completely dry. Online calculators help you to decide how much paint to buy. Step 2: Protect Your Surroundings If your shed is standing on paving stones, cover the ground with an old sheet or flattened cardboard boxes. Remove all electric appliances and remove all old hardware like abandoned screws and nails on the shed walls. Tape off parts of the structure that you don’t wish to paint, such as windows, locks, door handles, hinges, and light fixtures. Before you begin painting, clear out the entire shed—take out everything you’ve been storing there, such as outdoor furniture and your best BBQ. Step 3: Make It Watertight Next, make the shed waterproof by covering all the gaps, cracks, and holes using caulk where necessary so no rain or snow can enter. If the caulk you use is silicon-based, you must wait for a day for the sealant to dry. Step 4: Sand the Shed Use a sanding block and sandpaper to sand down your shed. Remove any old or loose flaky paint from previous paint jobs. You can skip this step if the shed you're working on is brand new. Step 5: Apply Wood Primer Applying a layer of oil-based primer will make it easier to spread the paint evenly. It also keeps the wood healthy, makes the structure last longer, and provides an extra layer of protection against the elements. Step 6: Paint Your Shed Once the primer is dry, paint your shed from top to bottom using a paint roller for large areas and a small brush for the tiny nooks and crannies. It’s best to begin with the trim before painting the walls for a smoother process. Distribute the paint evenly and move around the shed bit by bit until every corner is covered with your color of choice. Wait for the first coat to dry completely, then you can apply one or two more layers as you wish. Conclusion These six simple steps are all you need to paint your storage shed like a pro. Easy, isn’t it? Painting can be meditative, so don’t rush the process. Begin your project early in the morning. Avoid afternoons as the heat can be detrimental to your comfort while painting. Whether you choose a vibrant color to make your shed a feature point in your garden or opt for a subtle hue, painting your shed is a fantastic way to add some personality to your garden. Besides aesthetics, the fresh coat of paint will also protect your shed from harsh weather. Happy painting! 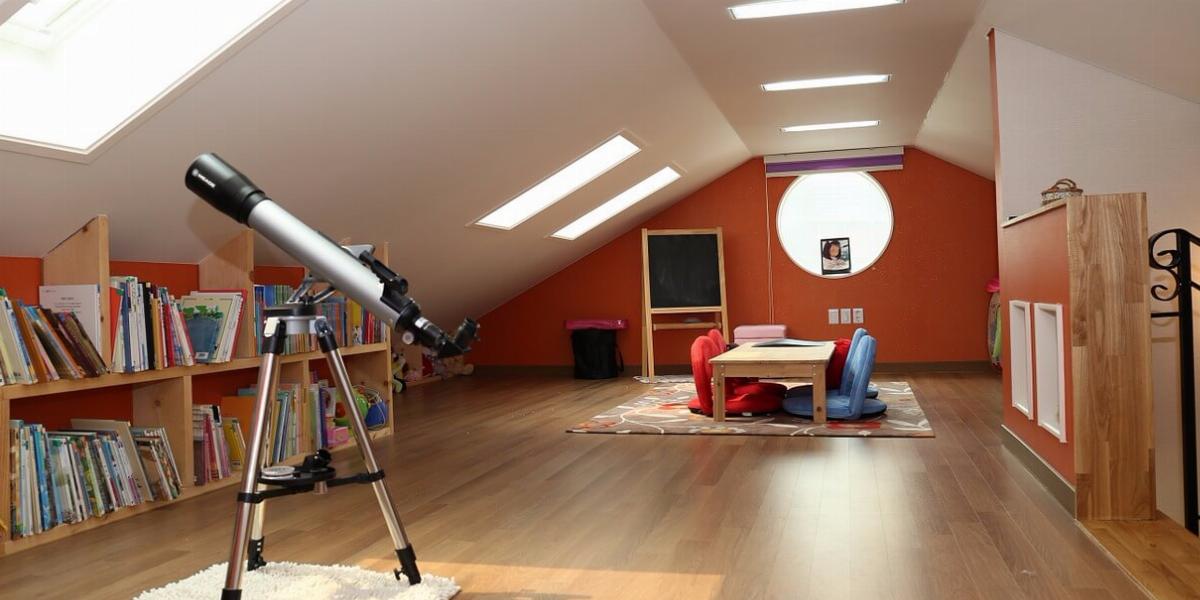 Everyone around the world was affected by the COVID-19 pandemic, whether that was through homelessness, sickness, unemployment, or general malaise about the state of the world. However, some people were able to use the sudden amount of free time they’d gained to make productive life changes, such as beginning a weight loss journey, picking up DIY projects, and cleaning up their houses. These actions, which might have been put off for years, suddenly had the space to be completed now that people didn’t have to deal with daily commutes and the like. (This is, of course, a positive spin on what was a generally nightmare-inducing situation for billions of people. This article is not trying to make light of that.) One such home renovation project that people suddenly had time to do was getting rid of the junk that had been cluttering up their attics for ages. And, with that new space, people were able to try and come up with new and fun ways to use it. If this is you, and if you’ve done the cleaning part but not the space decorating part, have you considered . . . turning your attic into a bedroom? Check Its Structure Before getting too far into this plan, the very first thing you need to do is make sure that your attic is suitable for sustained use and weight. Although you may have just taken a bunch of stuff out of the room, the relics and old clothes you used to store up there will typically weigh less than the furnishings for an entire room. Whether checking the stability of the attic requires you to hire an inspector or otherwise, make sure you verify that the attic won’t collapse into the rest of your house as soon as you get a bed up there. Only once you are sure that the attic space will not collapse and take the rest of your house with it, should you continue with your attic remodeling plans. In summary, make sure that your attic meets all local building codes and standards before you move in. Finish the Attic You may be able to skip this step if your attic is already finished. However, very few attics will be finished, so make sure you plan this time into your project and your budget. When someone mentions “finishing” an attic, this typically means that you make the area into a suitable living space. Elements you might be required to add are included, but not limited to:
After you’ve done the aforementioned things, it’s time to move on to the next steps. Check That the Attic Is Insulated and Drywalled As part of making sure that your attic is an actual living space, you should plan to add in insulation and double-check that there is drywall on the walls and ceilings. Making sure that the attic has temperature management (insulation) and structure (drywall) will go a long way towards making sure that your new room feels like a room and not some creepy copy-paste from a horror movie. Paint! When people imagine making a whole new room, one of the first things that comes to mind is what color they want to paint it. This is one of the most fun aspects of turning your attic into a bedroom. It’s of the ways that you can show off your personality and interests. Make sure you take the time to look through many different paint options, so you end up with exactly what you want. And consider including an accent wall for even more interest in your new space. Also, don’t feel limited to only a single color. Mix and match it, use patterns and asymmetric designs, and let yourself have fun! Make sure that, when it comes to the actual painting, you tape off and cover anything in the room that shouldn’t get paint on it. After that, put on some old and comfortable clothes that you don’t mind ruining, and get to work! Flooring After you’ve painted the walls and ceiling, the last part of the attic that needs attention is the flooring. Unless you want the attic to have the basic wood flooring you’ve put in so as not to fall into the rest of the house, you should look into carpeting or hardwood flooring. This allows the room to feel cozy and homey, rather than drafty and cold. Although you don’t have to, it’s typically best to choose some flooring that will compliment your painted walls, but again, this room is yours. Do whatever you want that will make you happy for a long time! After you’ve settled the stability, made it livable, painted the walls, and put in floors, the final step is to furnish the room! Furnishing This, like the painting and the flooring, can take whatever form you’d like it to. If you want to add a bunk bed and two dressers so that two people can live in the room, that’s an option. If you want to cover the walls top to bottom with art, don’t let anything stop you. At the end of the day, although it used to be an attic, this room is now the culmination of a vision--your vision. Once you’ve completed this last part, take a moment to recognize what you’ve done, and then relax and enjoy your new space. |
Dan KirbyA Professional Painter servicing Charlottesville and Central Virginia for over 30 years. 
Archives
March 2023
Categories |
 RSS Feed